
Common Mistakes When Planting Elm Trees and How to Avoid Them
Most young elms fail because of planting-day errors — buried root flares, cramped spacing, bad drainage and careless aftercare. Here is how to get each one right.
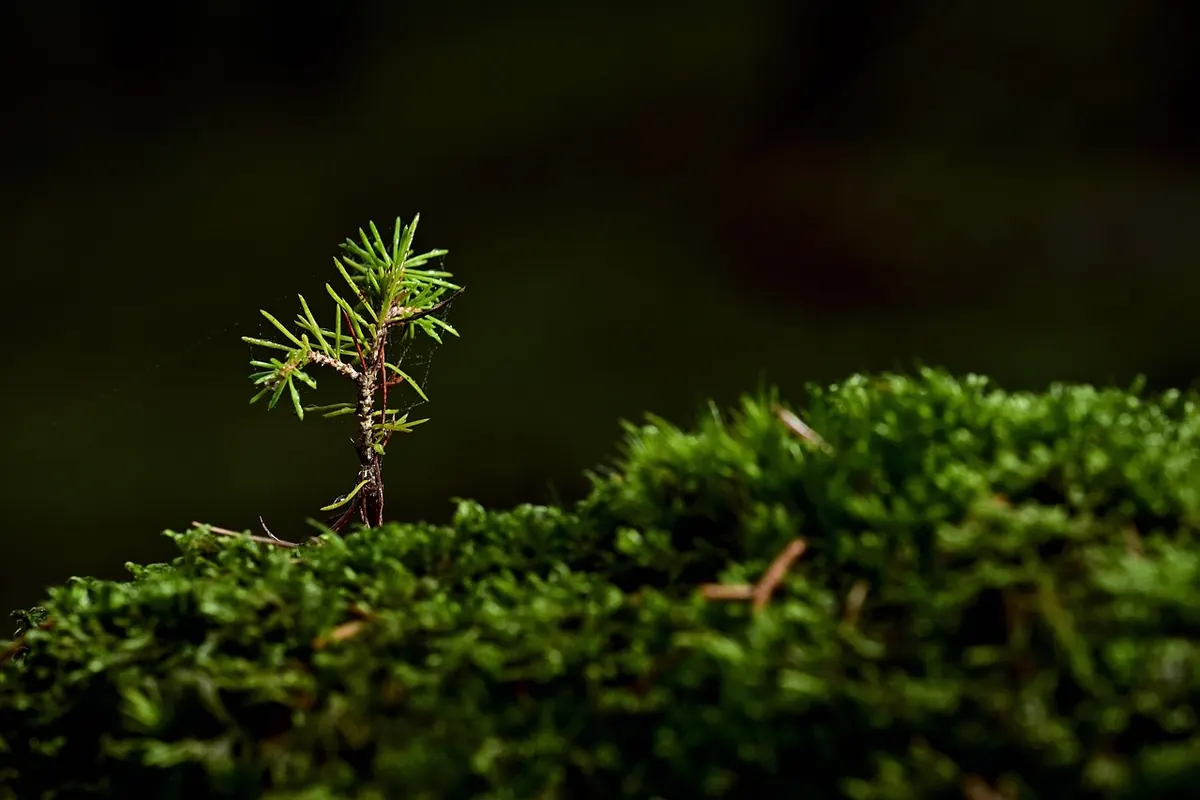
Elms are tougher than their reputation suggests. They sucker from old roots, grow quickly on decent ground, and a wych elm on a good site can put on real growth in a single season. That toughness is exactly why people plant them casually — and exactly why so many young ones fade away. Almost every elm that dies in its first three summers was lost to something decided on planting day. A buried root flare. A hole cut into compacted clay. A hose that came out for a minute twice a week in July.
None of those mistakes are dramatic, and all of them are avoidable. Here are the errors that matter most, and how to sidestep them.
Planting too deep: the mistake that kills slowly
Elms forgive a shallow planting far more readily than a deep one. Plant too high and the roots dry out, which you will notice within weeks. Plant too low and the tree can look perfectly healthy for a year or two while the bark below soil level slowly rots and roots begin to circle and constrict the trunk. By the time the crown thins and the leaves yellow in midsummer, there is usually nothing left to rescue.
The fix is to find the root flare — the point where the trunk widens into the first main roots — before you backfill anything. On container-grown elms, that flare is often several centimetres below the surface of the compost, particularly if the tree has been potted on more than once. Scrape the top of the root ball away with your fingers until you find it.
A quick depth check
Once the tree is in place, the flare should sit at the finished soil level, or two to three centimetres above it on heavy clay where some settling is inevitable. Look at it from the side, not from above. If you cannot see the flare, lift the tree and start again — a week of lost growth is nothing compared with a tree that never establishes.
While you are down there, check two more things: that any graft union on a named cultivar stays well clear of the soil, and that no nursery twine, label or plastic tie is left around the trunk or buried in the root ball.
Ignoring spacing and the tree you actually bought
The most common spacing error is planting for the tree in the pot rather than the tree in ten years. A slender whip two metres tall may end up with a crown twelve metres across. Wych elm in particular wants room, and cramped planting gives you poor shape, permanent competition for water and a canopy that never dries out.
As a rough guide, allow eight to ten metres between large elms if you want them to develop as specimens. Hedge and pleached forms are a different proposition, so read the eventual height and spread on the label rather than guessing from the pot.
Other site checks worth doing before you dig:
- Drains, services and foundations. Elm roots are competitive and surface roots can lift paving over time.
- Overhead wires and the shade cast on vegetable beds or a neighbour's greenhouse.
- Suckering. English elm throws suckers freely, so avoid planting it where you want a tidy border or a smooth lawn.
- Dutch elm disease in your area. Dense groups of related elms can share problems through root grafts, so a spaced specimen is a lower-risk choice. Ask a reputable nursery which cultivars they recommend locally.
Getting the soil and the planting hole wrong
Dig the hole two to three times as wide as the root ball and no deeper than needed. Width matters far more than depth, because that is where new roots will run. On clay, rough up the sides of the hole with a fork so roots are not faced with a smooth, glazed wall.
The classic failure here is the flowerpot in the ground: a hole only slightly bigger than the pot, cut into a compacted lawn. The roots stay inside the soft, enriched fill until they hit the wall, then circle. If you are planting into a new-build garden or heavy subsoil, break up a much wider area than you think you need.
Check drainage before planting. Fill the hole with water and watch it. If it is still standing after a couple of hours, plant on a low mound instead, or choose a different spot. Elms cope with a wide range of soils, but few trees enjoy sitting in winter water.
On amendments, keep it restrained. Mix the backfill with the soil you dug out and add a bucket of well-rotted compost. Do not fill the hole with pure compost or multipurpose potting mix — roots can stay in that rich pocket and the tree becomes unstable as it grows. Skip fertiliser entirely at planting.
Watering errors in the first two summers
Little and often is the most damaging watering habit there is. A daily sprinkle wets the top couple of centimetres and encourages shallow roots that suffer the moment you stop.
Instead, give the tree a slow, deep soak and then let the soil dry slightly before repeating. A trickle from a hose for half an hour, once or twice a week in dry weather, is about right on most soils — more on sand, less on clay. Water in the morning where you can. Continue through the first two summers, and into a third if it is dry.
One detail people miss: check that the root ball itself is getting wet. If the nursery compost is very different from the surrounding soil, water can run down the seam between them and leave the roots dry. Break that interface up with your fingers when planting, and push a hand into the soil near the trunk to check moisture rather than judging by the surface.
Mulch, stakes and guards: the aftercare slips
A young tree's first job is to build roots. Anything that pushes it into making leaves instead — rich fill, fertiliser, a shallow sprinkle of water — works against you.
Aftercare is where good planting is undone. Watch for these:
- Mulch piled against the trunk. Keep the ring around a metre across and about five centimetres deep, with a clear gap of ten centimetres around the bark.
- Ties left tight. Check them twice a year. Stakes can usually come out after one or two seasons unless the site is very exposed.
- Strimmer and mower damage. A gouged trunk does more harm than most pests. Mulch is cheaper than a replacement tree.
- No rabbit guard. Young elm bark is palatable in winter. A spiral guard for the first few years costs very little.
- Feeding a new tree. It does not need it. Feed established elms only if growth is genuinely poor.
Resist the urge to prune hard in the first spring to "balance" the tree. Remove only dead, damaged or crossing branches. Leave the leader alone. If larger pruning is ever needed, do it in late summer or while the tree is dormant rather than in spring.
A planting day checklist
- Find the root flare and mark it.
- Dig wide, not deep, and roughen the sides on clay.
- Test drainage; mound-plant if water stands.
- Set the flare level with the soil or slightly above.
- Backfill with the original soil plus a little compost. No fertiliser.
- Water thoroughly to settle the soil, then mulch with a gap around the trunk.
- Fit a guard and a loose tie, and note the date for the first deep soak.
Get those seven steps right and the tree will do the rest. Anything that still looks wrong after a full growing season — a thinning crown, bark damage, a trunk that rocks in the wind — is worth investigating early rather than waiting. If you are unsure about disease, soil or the suitability of a particular elm for your site, ask a qualified arboriculturist or a specialist nursery before you spend money on a tree you may have to replace.
Photo: jggrz / Pixabay